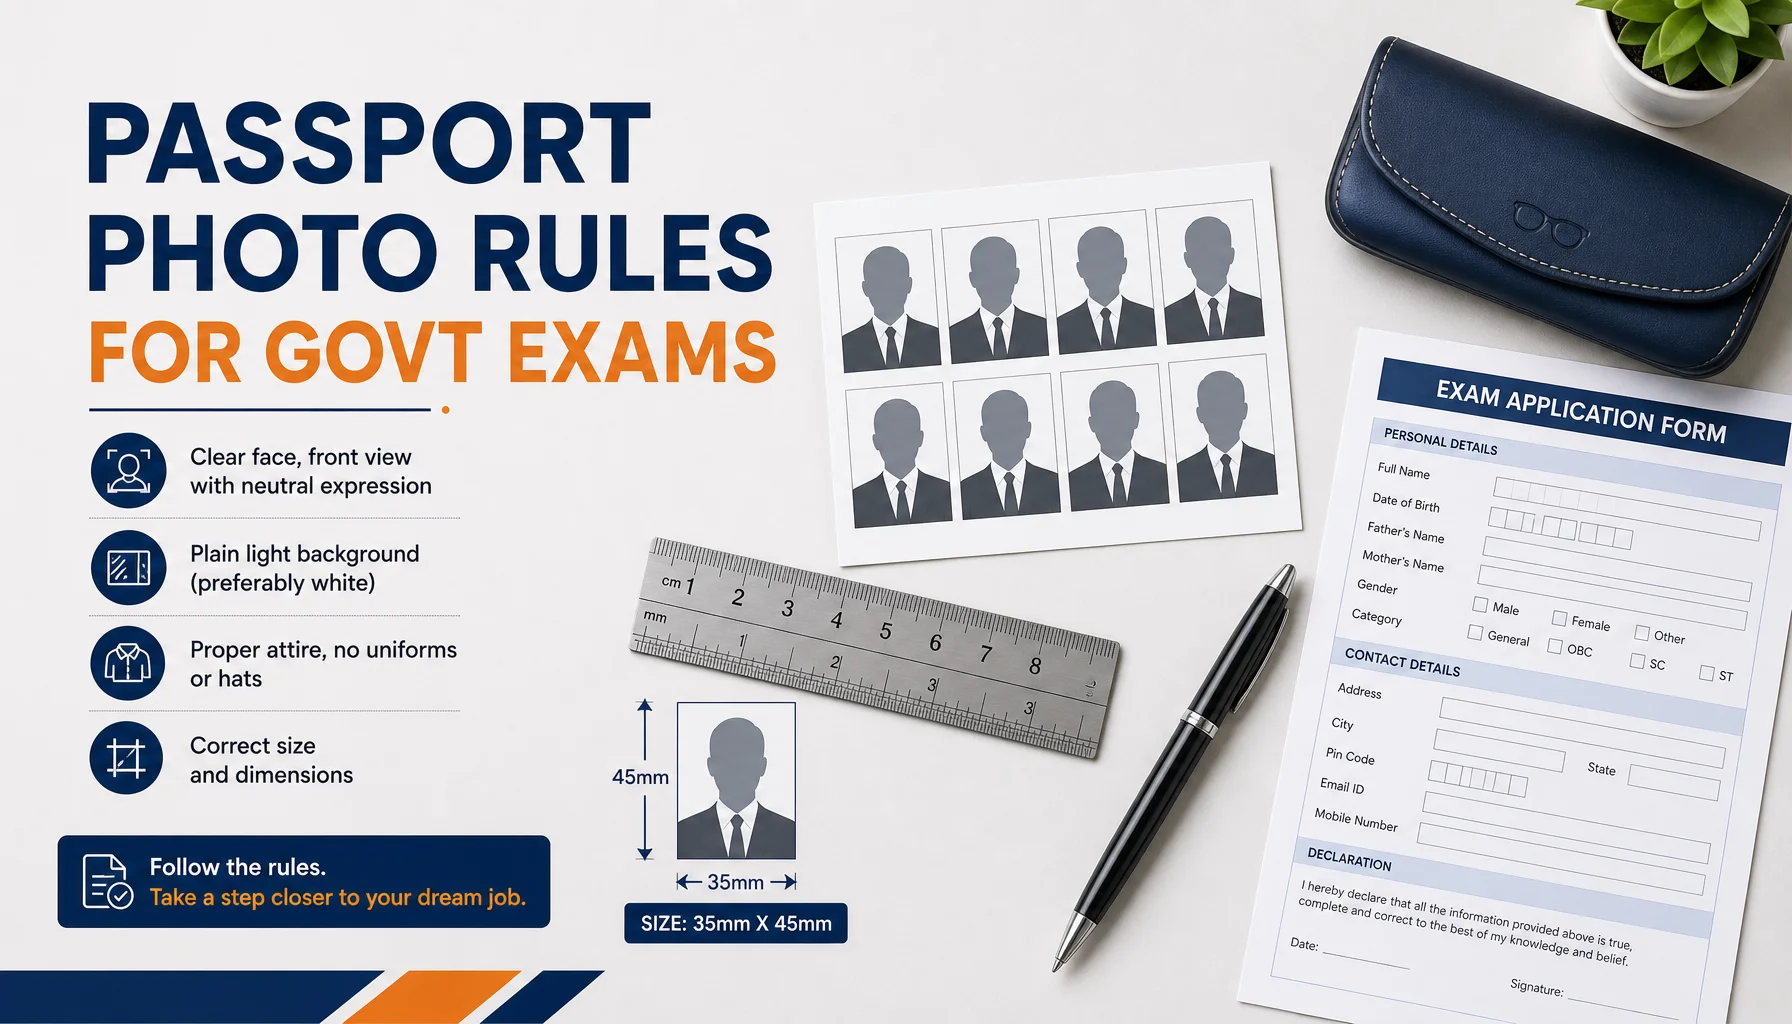
Applying for an Indian government exam should be exciting—it’s a step toward a career in the civil services, banking, railways, or defence. But every year, thousands of applications get rejected or delayed over one seemingly small detail: the passport-size photograph. A photo that’s too large, too small, has the wrong background, or falls below the required resolution can cost you your application. The good news? Getting a compliant photo is easier than you think once you understand the rules and use the right tools.Sarkari Result News
In this ultimate guide, we’ll break down the official photo dimensions, DPI requirements, and background rules for Indian government exams. We’ll also show you how to use simple crop and resize tools to produce a perfectly compliant image in just minutes—no professional studio required.
Why Photo Requirements Matter So Much
Government exam portals like SSC, UPSC, IBPS, RRB, and various state commissions use automated systems to verify uploaded documents. These systems check file size, dimensions, and format before your application even reaches a human reviewer. If your photo doesn’t meet the specifications, the portal will either reject the upload or flag your application as incomplete.
Beyond the technical checks, a clear, recent photograph is used for identity verification at the exam centre. A blurry, poorly lit, or outdated photo can lead to complications on exam day. That’s why nailing the requirements the first time saves you stress, time, and the risk of missing a deadline.Government Jobs
Standard Passport-Size Photo Dimensions
While requirements vary slightly between exams, most Indian government portals follow a common set of specifications. Here are the typical standards you should aim for:
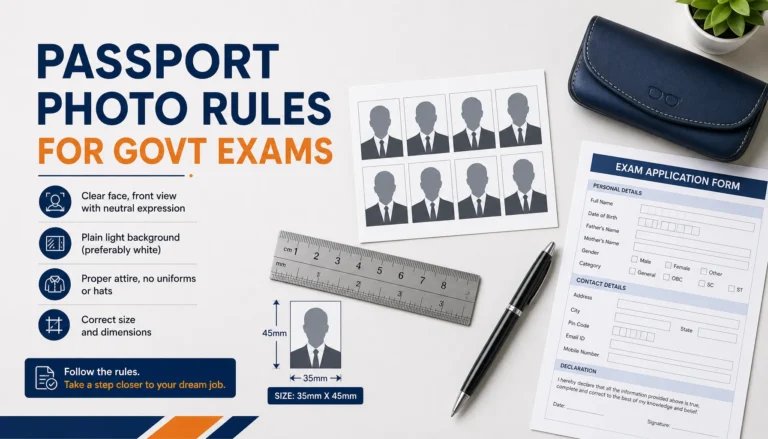
- Dimensions: Usually 3.5 cm × 4.5 cm (approximately 200 × 230 pixels for web upload).
- File format: JPEG or JPG (most portals do not accept PNG).
- File size: Commonly between 20 KB and 50 KB, though some portals allow up to 100 KB or as low as 10 KB.
- Resolution (DPI): Typically 200 DPI for uploads, and 300 DPI if you plan to print.
- Colour: A colour photograph, not black and white.
Always check the official notification for your specific exam, as the exact pixel dimensions and file size limits can differ. For example, SSC often asks for a photo between 20–50 KB, while some banking exams prefer 20–50 KB with strict pixel ranges.
Understanding DPI and Why It Matters
DPI (dots per inch) measures the resolution or sharpness of your image. A higher DPI means more detail. For online uploads, 200 DPI is usually sufficient and keeps file sizes manageable. If you ever need a printed copy for the exam centre, aim for 300 DPI to avoid a pixelated result. Many resize tools let you set both the pixel dimensions and the DPI, giving you full control over quality and file size.ASO Vacancy 2026
Background and Composition Rules
The background of your photo is just as important as its size. Most Indian government exams require:
- Plain white or light-coloured background with no patterns, shadows, or objects.
- Front-facing pose with your full face visible and eyes open.
- Neutral expression or a natural smile—no exaggerated expressions.
- No caps, sunglasses, or dark glasses. Prescription glasses are usually allowed if they don’t cause glare.
- Recent photograph taken within the last three to six months.
- Good lighting so your face is evenly lit without harsh shadows.
Some exams also ask for the date to be printed on the photo, so read the instructions carefully before you submit.
How to Get a Compliant Photo in Minutes
You don’t need expensive software to fix your photo. Free online image crop and resize tools can transform any decent photograph into an exam-ready image. Here’s a simple step-by-step process.
Step 1: Start With a Good Base Photo
Take a clear, front-facing photo against a plain white wall in good natural light. Even a modern smartphone camera works well. Avoid heavy filters or beauty modes that distort your features.
Step 2: Crop to the Correct Aspect Ratio
Use an image crop tool to trim the photo to a 3.5:4.5 aspect ratio. Position your face so it occupies roughly 70–80% of the frame, with a small margin above your head. A good crop tool lets you lock the aspect ratio so the proportions stay accurate.
Step 3: Resize to the Required Pixels and DPI
Next, use an image resize tool to set the exact pixel dimensions specified in the notification—for example, 200 × 230 pixels. Set the DPI to 200 for uploads. The tool should show a live preview so you can confirm the image still looks sharp.
Step 4: Compress to Meet the File Size Limit
If your photo exceeds the maximum file size, use the compression feature to bring it under the limit—say, below 50 KB—without visibly harming the quality. Save the final file as a JPEG.
Step 5: Handle Your Signature Too
Most applications also require a scanned signature. Use a signature crop tool to isolate your signature on a white background and resize it to the required dimensions, often around 140 × 60 pixels and 10–20 KB. Sign in black or blue ink on white paper for the cleanest result.
Handy Tools That Make the Process Effortless
Beyond crop and resize, there are a few other utilities worth bookmarking during application season:
- Age calculator: Quickly confirm you meet the age eligibility criteria as of the cut-off date mentioned in the notification.
- Exam countdown: Keep track of application deadlines and exam dates so you never miss an important step.
- Sign crop tool: Perfect for isolating and formatting your signature to exact specifications.
Using these tools together means you can prepare your entire document set—photo, signature, and eligibility check—in a single sitting.
Common Mistakes to Avoid
- Uploading a PNG when JPEG is required.
- Ignoring the file size limit and getting a rejection.
- Using an old or heavily filtered photograph.
- Cropping too tightly so the head touches the edges.
- Choosing a coloured or busy background instead of plain white.
- Forgetting to check the specific requirements in your exam’s official notice.
Conclusion
A passport-size photo may feel like a minor part of your government exam application, but getting it right is essential to avoid rejections and last-minute panic. By understanding the standard dimensions, DPI, and background rules—and by using free crop, resize, and compression tools—you can produce a compliant image in just a few minutes. Pair that with an age calculator and an exam countdown, and you’ll be fully prepared to submit a clean, professional application. Take a few extra minutes now to get it perfect, and give yourself one less thing to worry about on the road to your dream job.
About the Author